
- Note: These instructions may look long, but they are simple. Don’t get scared away yet!
Load the photographs you want to upload to Picasa onto your computer. If you know how to reduce the size of photographs to 72 dpi, you can do that to speed up the uploading process.
Before setting up your own Picasa Web Albums, you have to download a small bit of software onto your computer.
Go to http://www.picasa.com/. Click on Download Picasa 3.
- Upon Clicking the Download Picasa 3 button, you should see a screen that says:
Thank you for downloading Picasa 3. (Your download should start automatically. If it doesn’t, click here.)
Generally the download is automatic, but if it does not automatically download, follow the instruction on the screen. - Go back to http://www.picasa.com/ and click on the link Picasa Web Albums. You should now see the following screen:
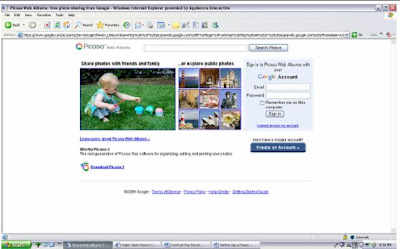
- Enter your gmail account (either one that you had before the workshop or the one created during the workshop) and password to your gmail. (Be sure to make a note of your gmail email address as well as your password so that you can always retrieve it to log into any Google service).
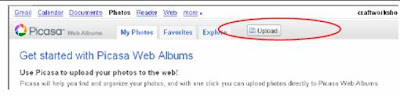
- Click on Upload.
- Naming Your Album
The Create Album screen will pop up.


Example:
View Nortique’s new coats for Spring 2009. Coats are available from our retail outlet at Main Road, Corner Brook, Newfoundland and online at etsy.com/nortiquespringcollection. Send trade enquiries to sales@nortique.com and visit our website at www.nortique.com.
This is the opportunity to enter the address for your main business.
In this example you would enter Corner Brook Newfoundland.
Check that the correct location appears on the map.
Make sure that “Show Location on Map” is ticked.

7. Adding Photographs

- Click on Add Photos.
A window will open that allows you to select photos from your computer.
Go to the folder where your photographs are saved and click on the photo to upload.
Repeat the process until you have chosen all your photographs for this album and then click on Upload.
8. On the next screen you add CAPTIONS to each photograph. Remember to make each caption a keyword-rich description unique to each photograph.
Captions can be added in two ways, either by
- clicking on the photograph and writing the caption in the box that appears under the photograph or by
- clicking on Edit and selecting Captions from this menu. Other features on the Edit menu allow you to customize the Album you have just created.
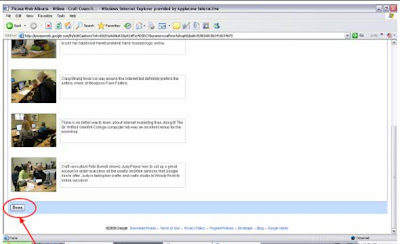
Click on Done when you are finished with your captions. Beware spelling errors because search engines will not understand it.
9. Sharing your Album
How will others find your Picasa album?
- Select Slide Show from the menu. Once you view your photographs in the album as a slideshow, copy the URL (address) of that page and use it as the address for your slideshow:


Example: http://picasaweb.google.com/craftworkshopNL/CraftCouncilNLInternetMarketingWorkshop#slideshow
• Use the Share button and email the photo album to people on your address list.

Read more about what is happening in Picasa on their blog: http://googlephotos.blogspot.com/


No comments:
Post a Comment